Step-by-Step Guide
1. Go to the Configurations Tab
-
Log into your Anybiz account.
-
At the top of your dashboard, click on the “Configurations” tab.
2. Navigate to the Personas Section
-
Inside the Configurations tab, select the “Personas” section.
-
Here, you’ll see a list of your existing personas — this is where you can manage or create new ones.
3. Click on "Import from"
-
In the top right corner of the Personas section, click the “Import from” button.
4. Select "Zapier" from the Dropdown
-
From the dropdown menu, select “Zapier.”
- This enables Anybiz to automatically import persona data from any app you’ve connected to Zapier.

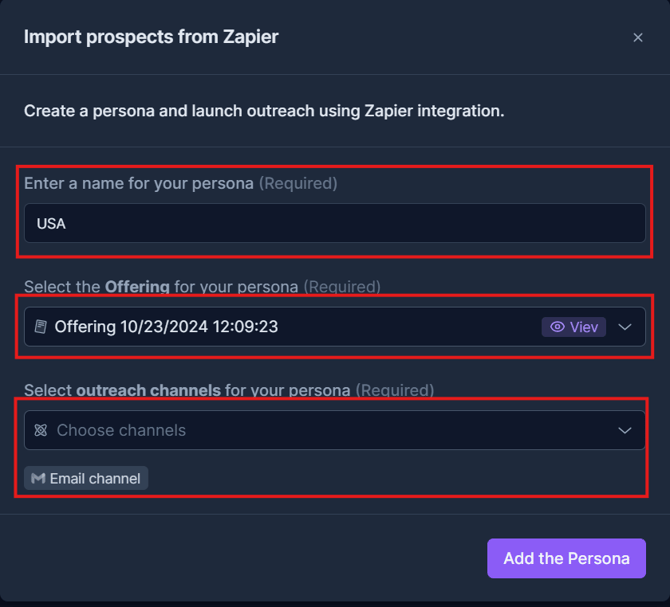
5. Import prospects from Zapier
- Enter a name for your persona (Required)
- Select the Offering for your persona (Required)
- Select outreach channels for your persona (Required)
6. Connect your persona with Zapier
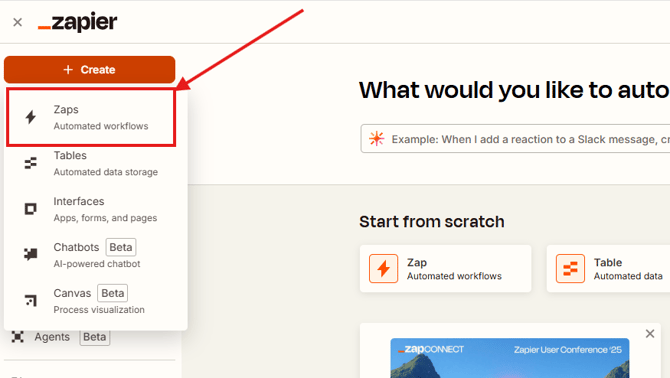
- Navigate to Zapier.com and login to your account.
- On the left side, press Create Zaps
Next Step

Set up your Trigger
- Select your data source (e.g., HubSpot, Google Sheets).
- Choose the event (e.g., New Contact, New Row) that should trigger the import.
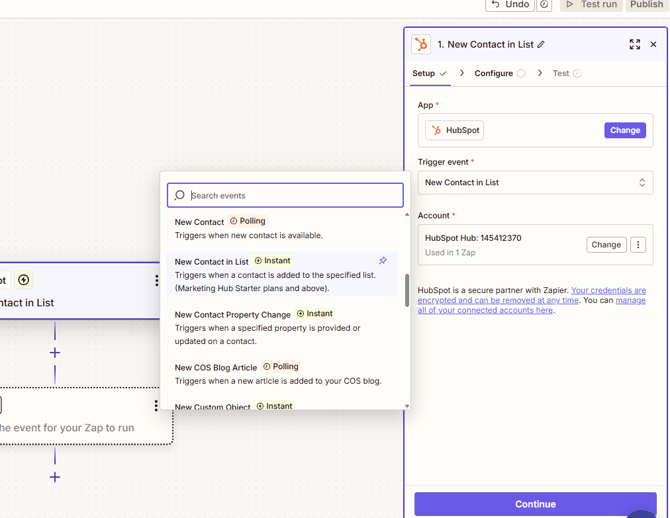
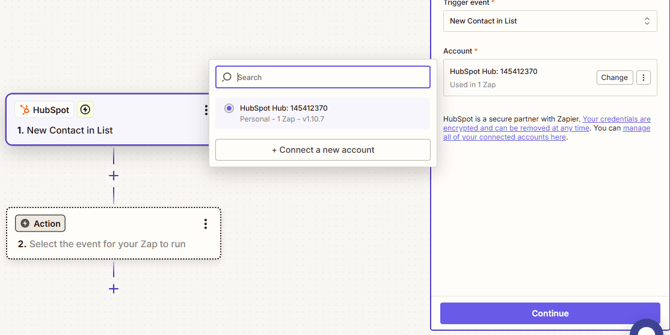
- Connect your source account (e.g., HubSpot) and click Continue.
Set up the Action

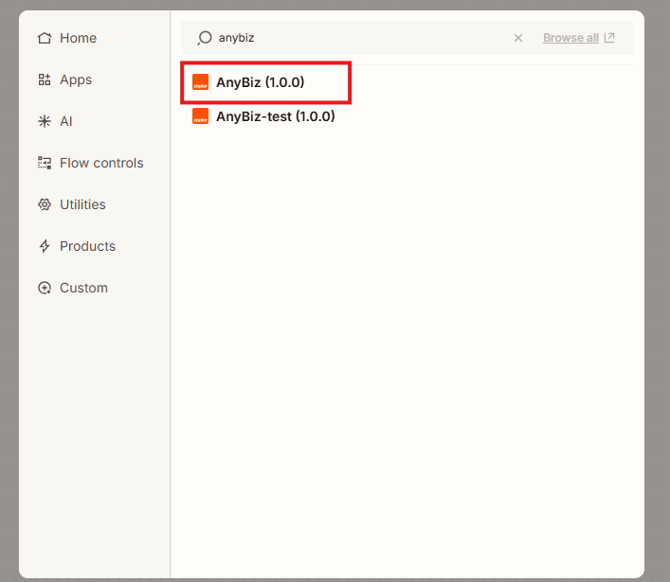
Click on Action
- In the search field, type “Anybiz” and select AnyBiz (1.0.0) from the list.
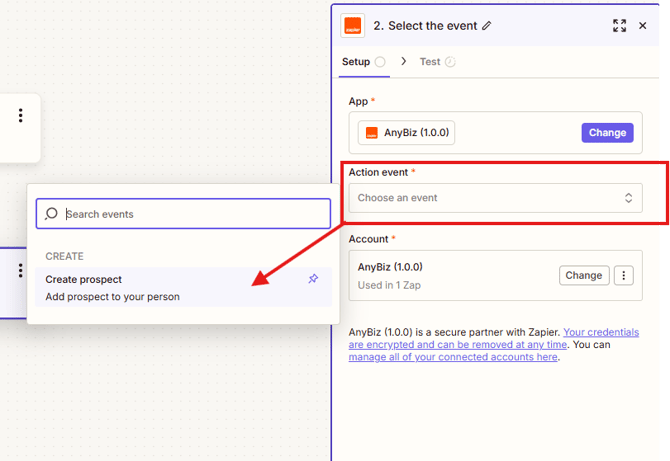
Select the event
- Choose “Create Prospects” as the action event.
Choose Your Account
- Select or connect your Anybiz account.
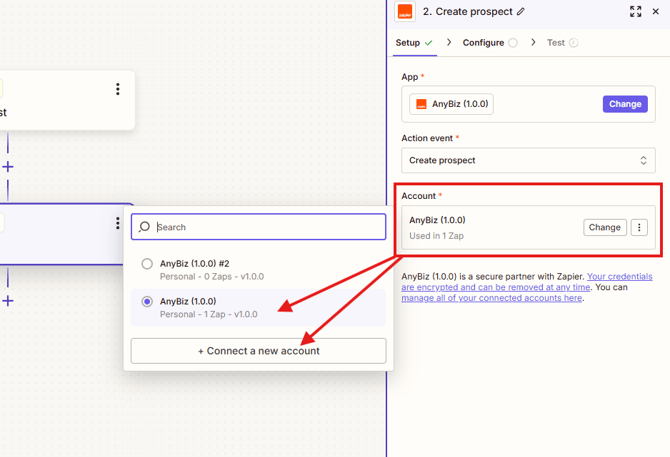
- To connect, you’ll need your API key from your Anybiz account.

Click Continue and Select Create Prospects
Now fill in the required fields:
-
Person ID – Select the persona you want to add prospects to.
⚠️ If your persona doesn’t appear in the list, please wait 10–15 minutes for synchronization to complete, then try again.
Required Fields
When creating prospects, make sure to fill in the following fields:
-
Email (Required)
-
First Name (Required)
-
Last Name (Required)
-
Business Name (Required)
These fields are essential for the prospect to be successfully added to your persona in Anybiz.
Click Continue
At this stage, you can choose to test your prospect or skip the test.
-
If you choose to run the test, a test prospect will be created and added to your selected persona in Anybiz.

- If you prefer, you can skip the test and finish setting up the Zap without sending test data.

Final Step: Click Publish
Once all the setup is complete, click “Publish” to activate your Zap.
Your integration is now live, and new prospects will automatically be added to your selected persona in Anybiz.
📌 Important Tip
Before you import via Zapier, make sure you’ve already set up a Zap that sends contact details (like name, email, company, etc.) to Anybiz.
If you haven’t done that yet, go to Zapier.com and create a Zap that connects your tool (e.g., Google Sheets or HubSpot) to Anybiz using a webhook or direct integration.